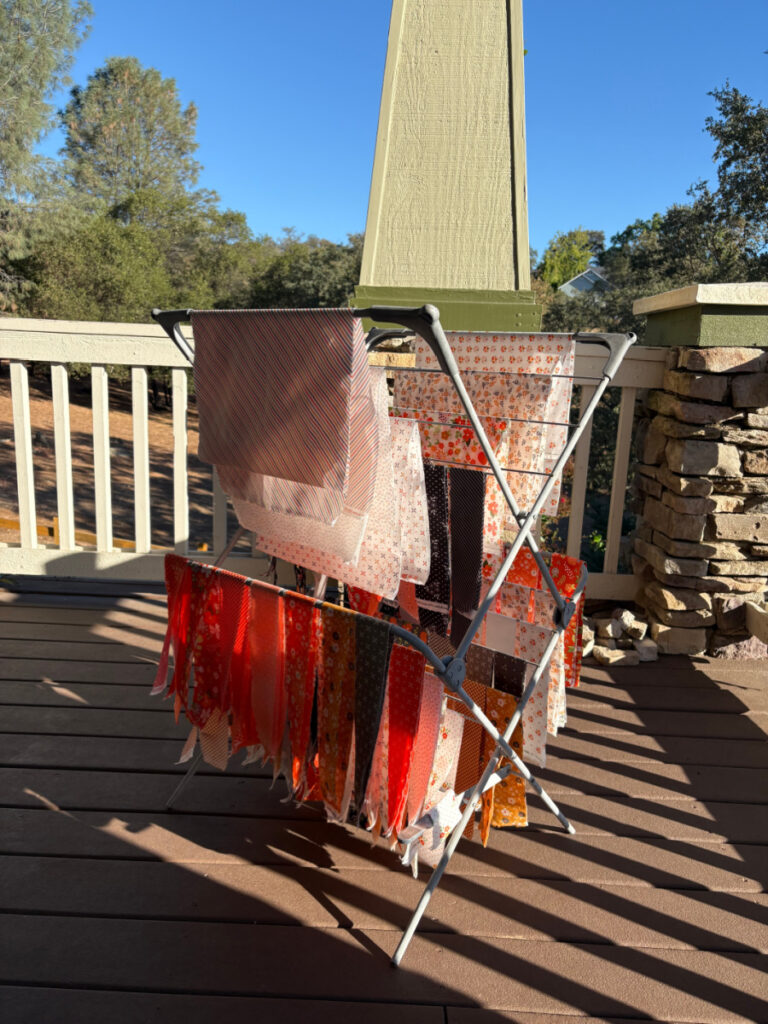
The day started out great. It was a perfect early autumn morning with blue skies, a slight breeze, and lots of promise. It was a good day for starching jelly rolls! They didn’t take long to do at all, and don’t they look festive drying in the fresh air?
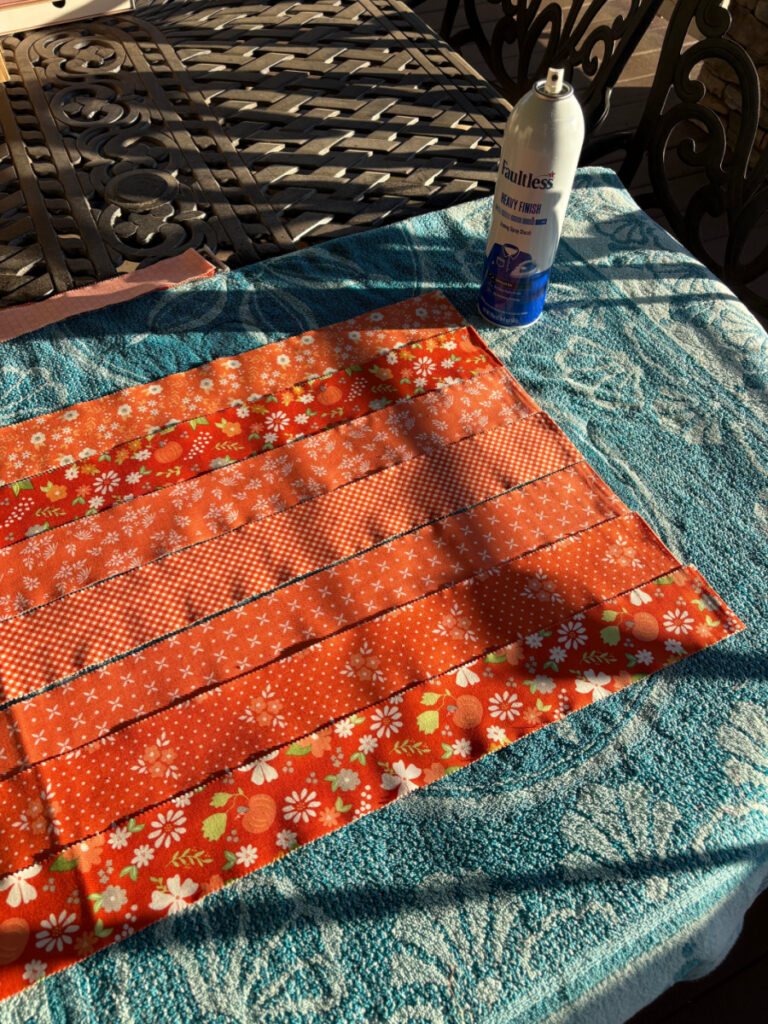
Here is a tip for you if you ever are starching jelly rolls. I laid the strips out very close together (but not overlapping). I could do seven at a time on my towel. I sprayed one side thoroughly, then very carefully flipped them over to the other side and sprayed that. Then, onto the drying rack they went. It took no time at all to get the job done.
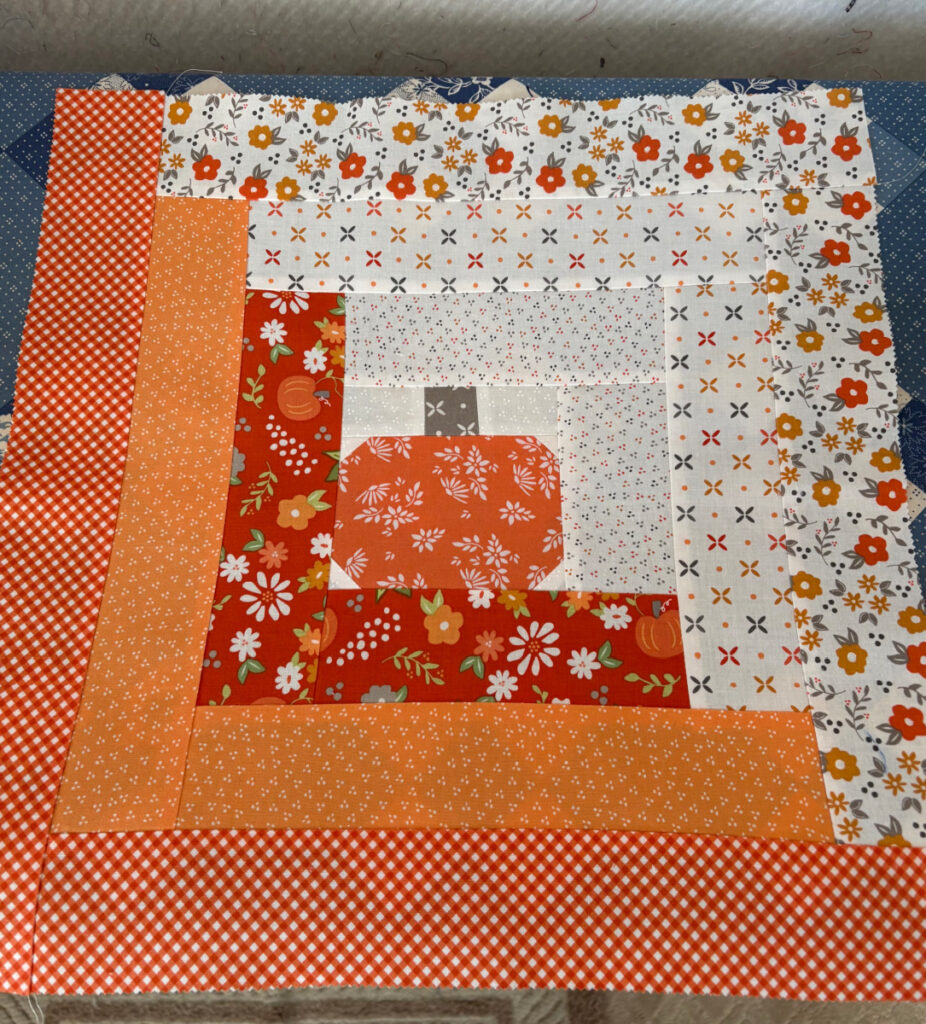
I was so excited to get up to the sewing room and make my first block from Chelsi Stratton’s Corn Maze pattern. The pattern is well designed and very appealing to work with. You do cut the “log”strips to size before sewing around the center pumpkin unit, so there isn’t room for error. That isn’t my favorite way to make log cabin blocks, but I figured I’d give it a go.
I did make my first block, but wasn’t happy with my degree of accuracy. The block size is very large, at 16.5″, and mine did not measure that when I finished it. This had nothing to do with the pattern, which is well written and clear. I am just used to using foundation paper or a Log Cabin trim ruler when I make these blocks. The slightest wobble in my stitch or seam allowance has a ripple effect that throws things off.
I took a break from the project for a while and put my thinking cap on. There is no foundation paper or trim tool in that 16″ size. So, what I decided is to use the Creative Grids 12.5″ Log Cabin trim tool and scale my blocks smaller. I will end up with the exact same look as Chelsi’s quilt, just with smaller blocks.
The trim tool counts on you having an extremely accurate starting square from which all the “logs” and trimming are based. As luck would have it, the center square for the 12 inch block is 3.5″. So, I made pumpkins.
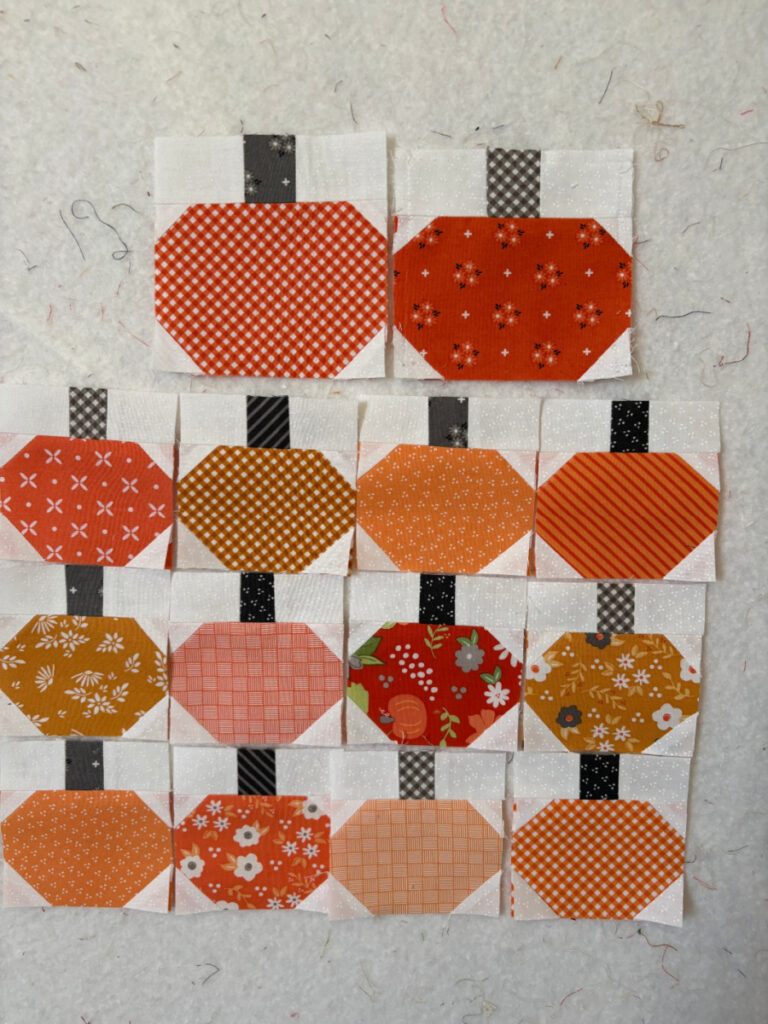
The top two blocks are what I made for the 16.5″ blocks. I will not be using them. Those 12 little guys are my perfect 3.5″ center starting point for my 12″ log cabin blocks!
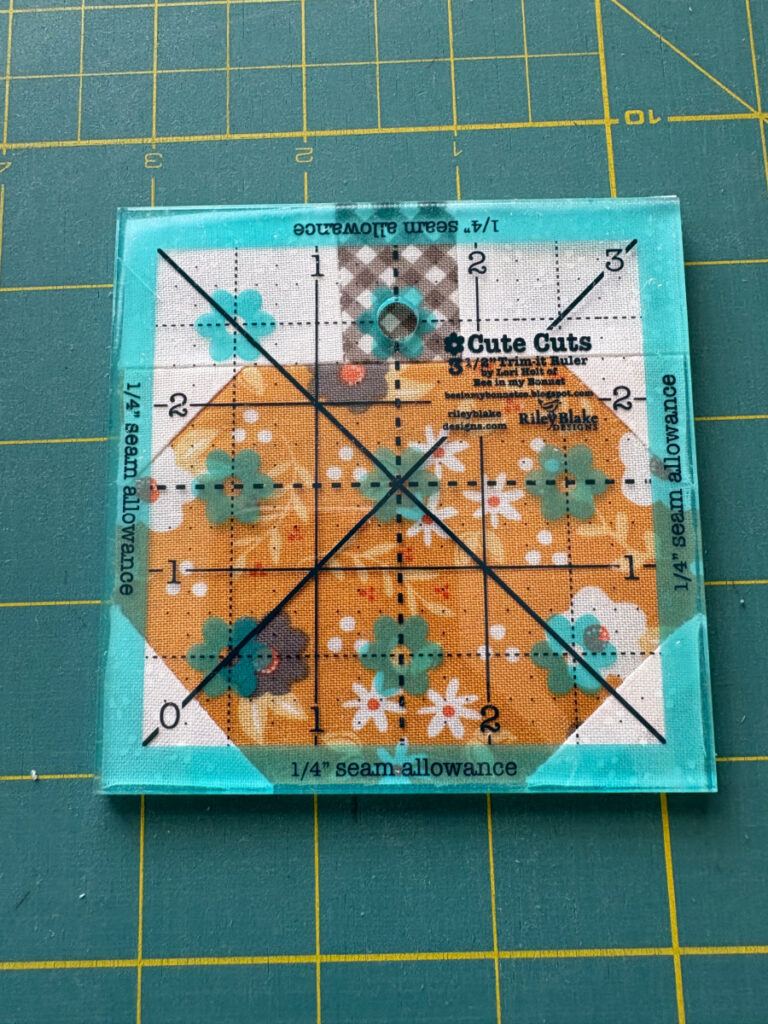
I knew my center pumpkin blocks had to be dead on 3.5″, and my little Cute Cuts trim tool helped me achieve that.
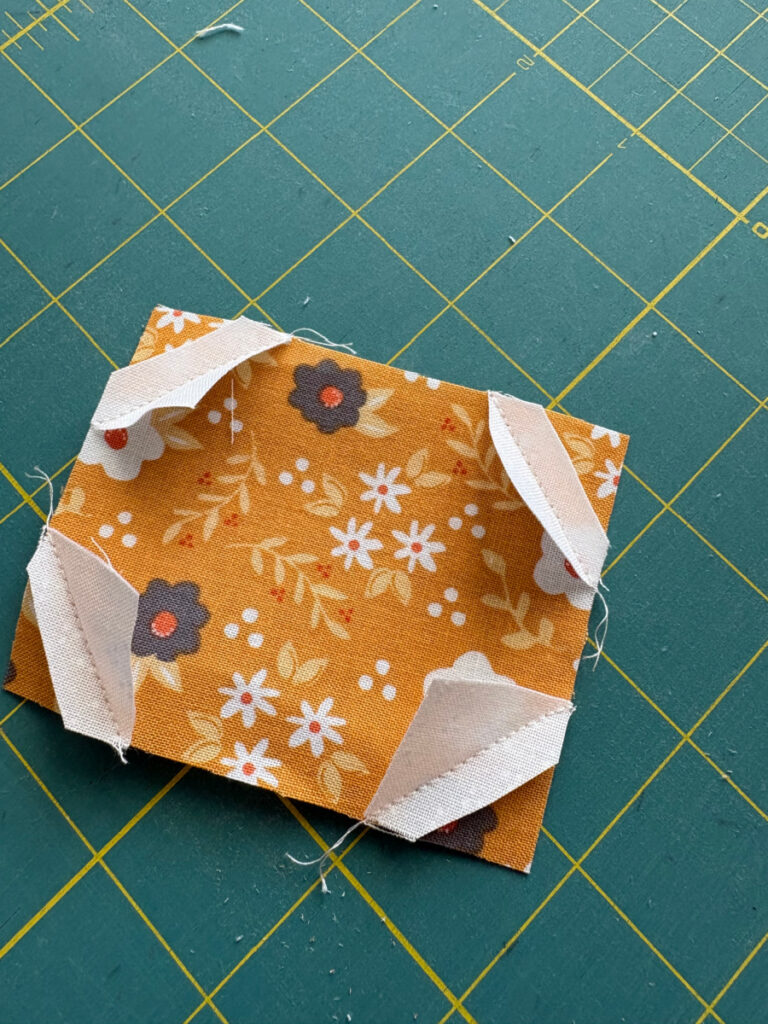
The other thing I did to ensure accuracy was to not trim away my corners on the pumpkin section of the block. When you do those flip-and-sew corners and trim both layers away from the underside, things can be slightly wonky. (In my experience). So I trimmed that middle section and left the print fabric alone as my foundation base. And those blocks came out really nice and accurate.
My new Creative Grids ruler is supposed to come today, and I hope to get a couple of blocks done and see how they look!


3 Responses
You gotta love pumpkins! I did not trim bottom later on flipped corners once, but I think that they showed through the top layer. Maybe it depends on the size? Anyway, I never did that again.
I am just amazed (jealous) of how many quilts you can work on at 1 time.
Do you read several books at a time too?
I love those creative grids trim tools! I should get the bigger one. Or maybe wait when I have a project??
Lots of great tips today! Thanks for the photo of the starched jelly rolls–they look like streamers at a party! That’s going to be an adorable quilt with the cute pumpkin centers. Glad you found a good solution to the size problem.