A few people have asked about my machine-binding process. I will do a quick recap of my method as I finish the Riley Blake 2025 BOM featuring a barn medallion center.
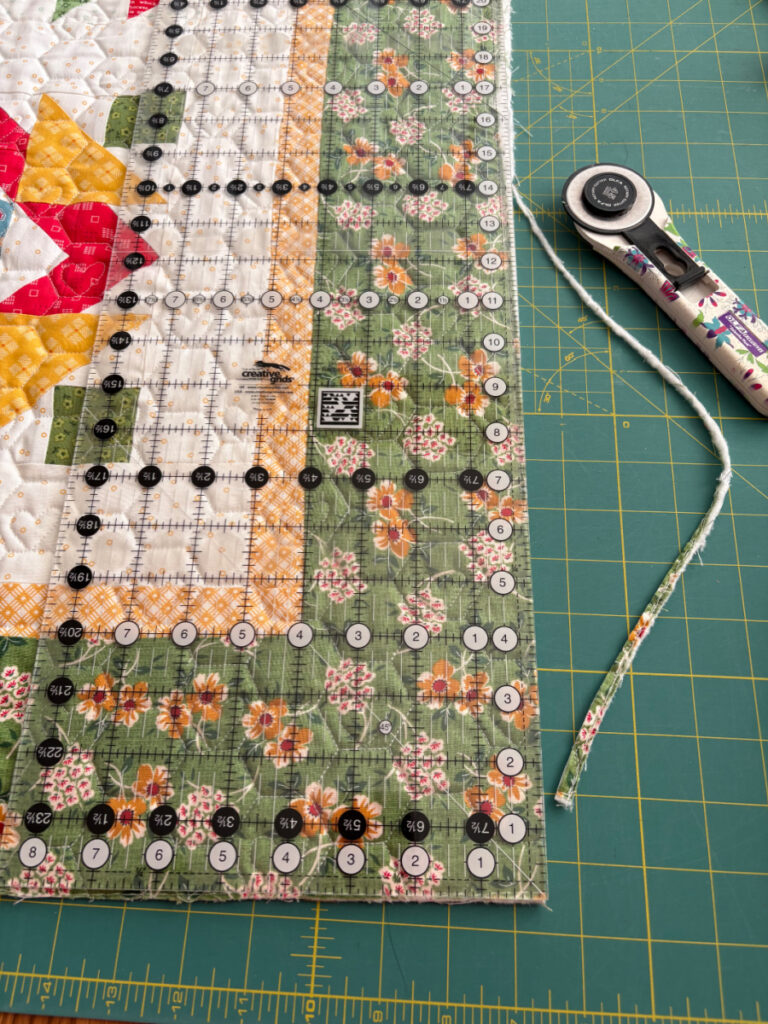
The first step is to trim the quilt, or square it up. My quilter does trim up the quilt after long arm quilting, but it isn’t quite as perfect as you want it to be for attaching binding evenly.
Next, I attach my 2 1/2″ binding to the quilt edges in the usual manner. If I were hand sewing the binding down, I would use strips that are 2 1/4″ wide, but the extra width makes for fewer errors in catching the underside when you are sewing binding down on your machine. The photo below shows the binding sewn on and pressed out from the border.
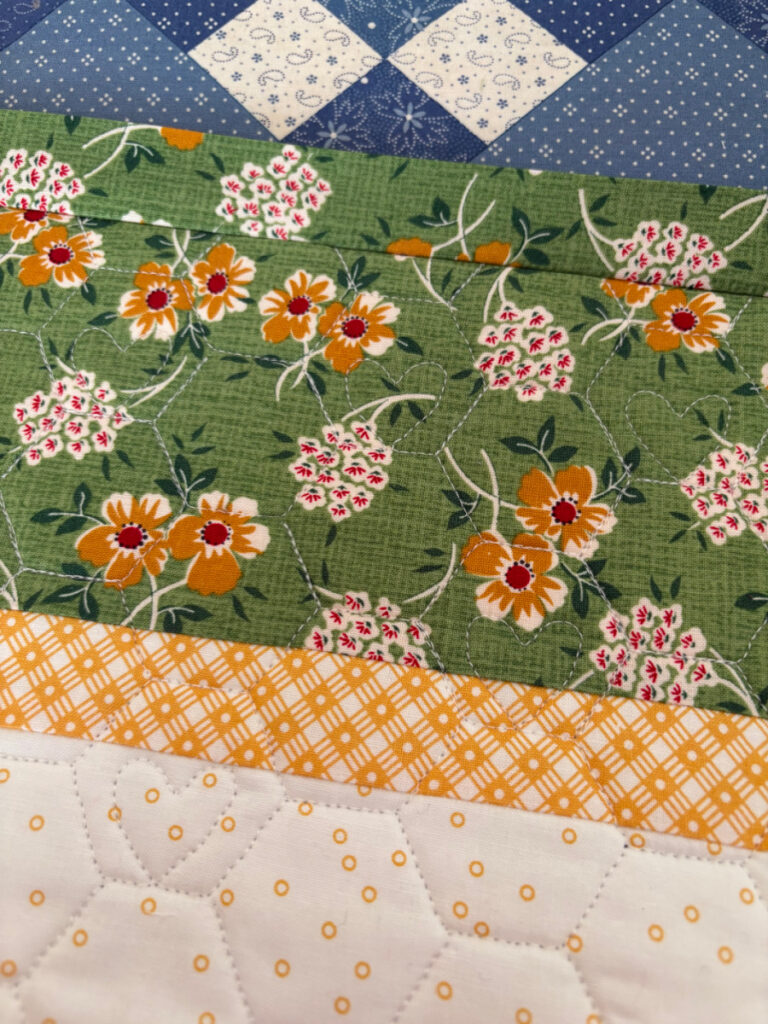
Probably the most important step in getting machine binding to turn out well is to press the binding out from the seam all around the quilt and on the corners. I use steam and a high heat setting. I want the best possible flat press with no wrinkles or pooches along the “ditch” where I plan to do my stitching.
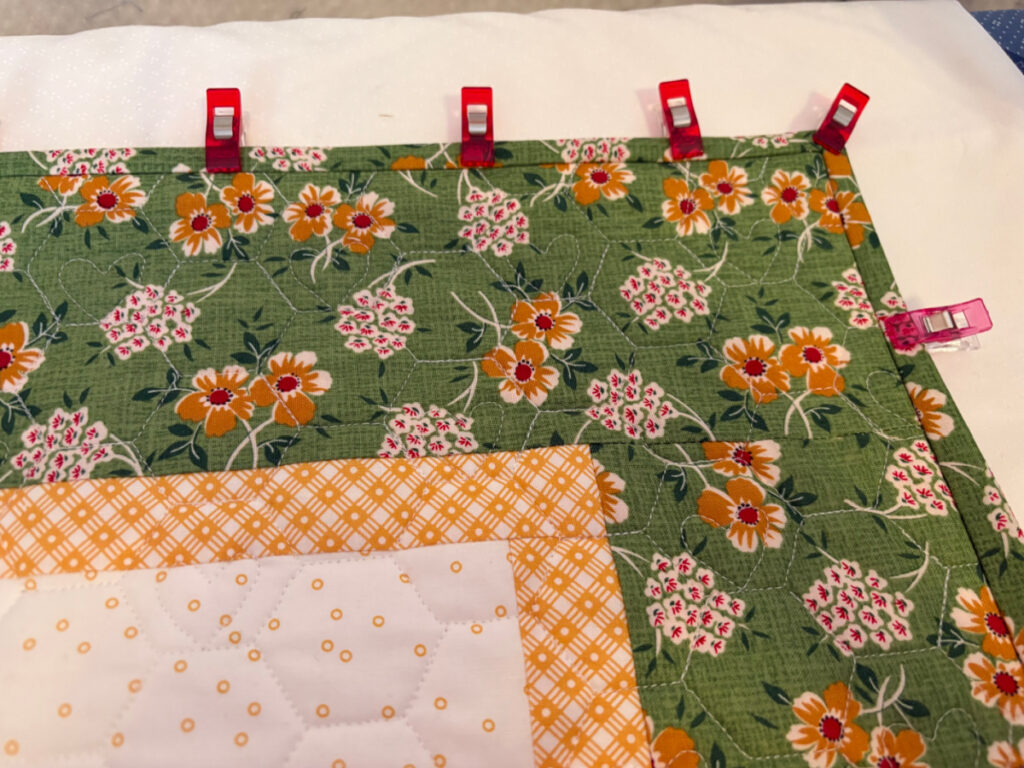
More pressing comes next. You want to fold the binding over to the underside and press the heck out of it. The finished edge of the binding should extend past the stitching seam on the underside of the quilt. The photo above shows the binding folded over the edge of the quilt and held in place with clips.
Many people ask if I use glue or pins to hold the binding down. I do not. Pressing alone can be sufficient, but for a larger quilt like this, I like to use binding clips. Note that I only sew one side at a time, rounding the corner a bit on the next section. I find the larger quilts easier to handle if I just do one side at a time. Obviously, this means getting up from the sewing machine and going back to the ironing board to press and clip each side as you go. I don’t have enough clips to do all four sides in one fell swoop anyway.
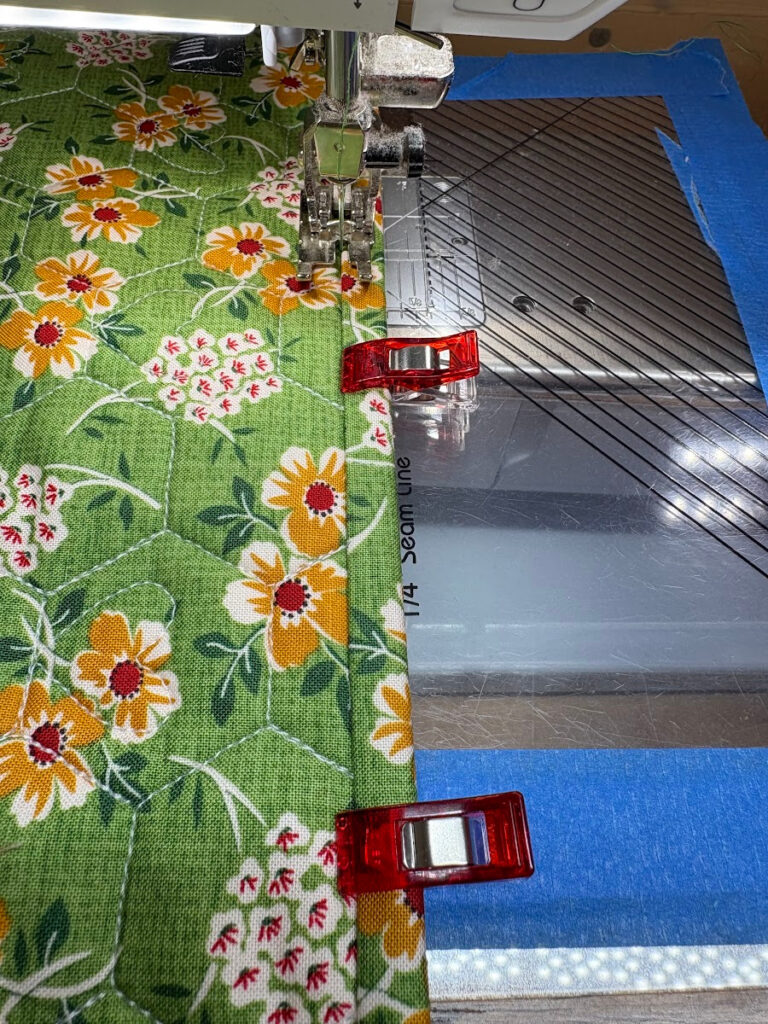
I “stitch in the ditch” where the binding seam is pressed away from the border. I use thread that matches the top fabric as close as possible. It is pretty impossible to see the stitching. I go very slowly with my stitching, and in fact, adjust my machine so it sews at a snail’s pace. It is easy to get carried away and stitch at top speed if you don’t, and then your stitches wobble, cross over out of the ditch, and become more obvious.
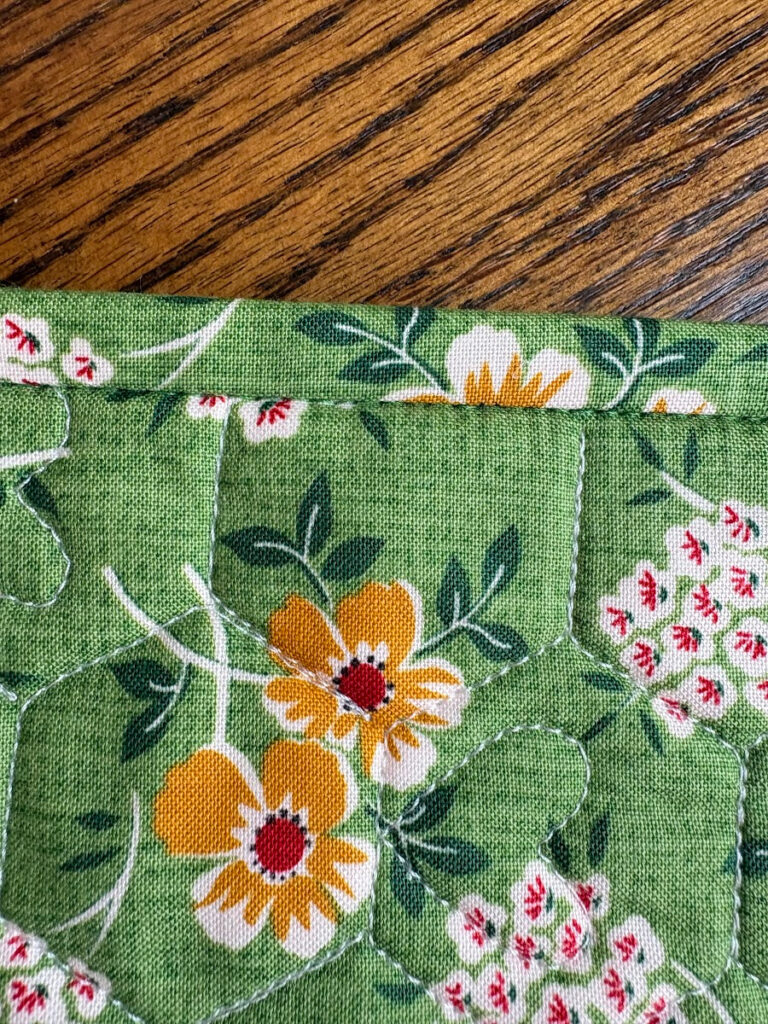
Here is a close-up of my finished stitching. I am pretty happy with it, and doing it by machine saved me about four hours of hand sewing.
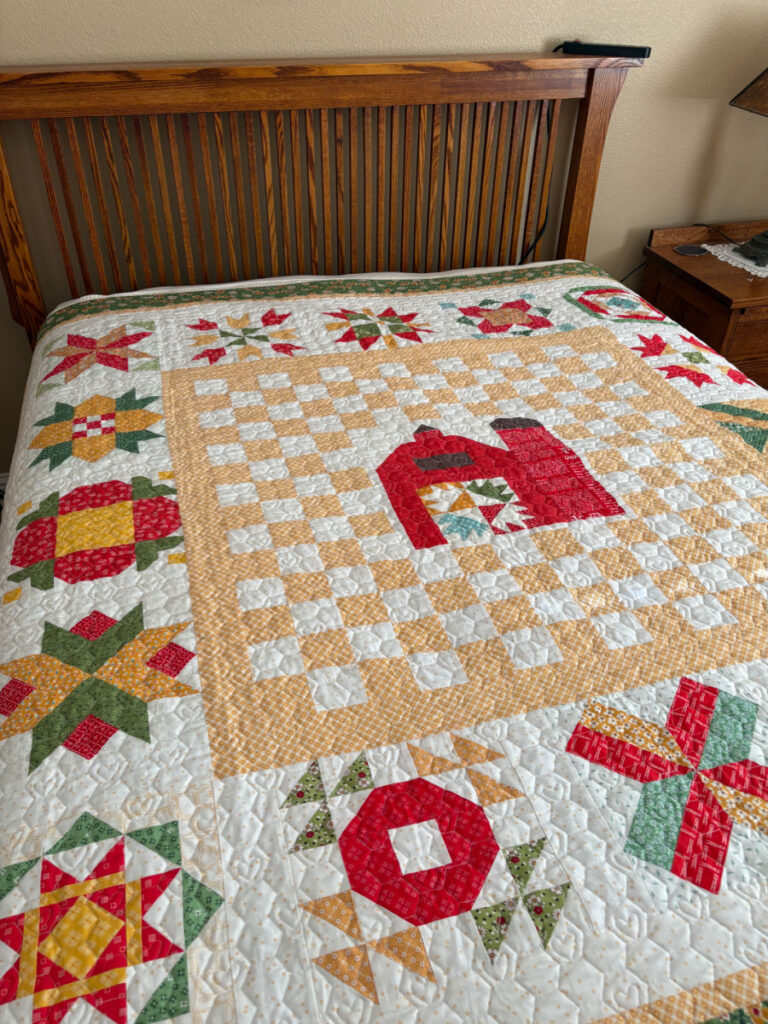
Ta da! One more UFO done and dusted. There aren’t too many things more satisfying than seeing your finished quilt on a bed.


11 Responses
Hi, where can I get the pattern for this quilt? It is beautiful, thanks for sharing your tips on machine binding!
The blocks were made using the Riley Blake Challenge 2025. The patterns are completely free. The website has all the patterns for their BOM Challenges going back five years or more, all free. Here is the link to the 2025 patterns, fabric reqs etc: https://www.rileyblakedesigns.com/2025-rbd-block-challenge
Their final setting was a checkerboard design with a different medallion block in the center. I wanted to do a barn block instead and used a block pattern from one of Lori Holt’s Farm Girl Vintage books.
Looking good! I don’t remember that quilt. You are on a roll!
That is the quilt from the 2025 Riley Blake Challenge. Their annual sew-alongs are so good. The blocks are interesting and usually all go together. The finished setting has always been nice as well. I think their sew-alongs are top-notch. The patterns are totally free and are archived back to 2020 or earlier. Just Google Riley Blake Challenge and you will see what I mean.
Another beautiful quilt. Are you working on another quilt for Ahern? I remember you purchased fabric.
Oh lord, that project has been hanging over my head for three years. He loves William Morris fabric and wanted a quilt featuring them. We shopped online and ended up with close to $300 of fabric, I’m guessing. He picked out a pattern, which I am not crazy about and that is why I have been procrastinating. I finally narrowed the gazillion fabrics we had purchased down to a cohesive workable number and hope to start it before he arrives in December to celebrate Christmas with us. Hopefully he will see that I intend to get the quilt made and to him by next Christmas!
Do you ever have issues catching the binding on the back side? I think using 2.5” binding May solve this? I’m going to keep practicing! When I sit down at night I like to read!!
I had lots of trouble catching the underside of the binding when I used 2 1/4″ binding. Going up to 2 1/2″ has solved that issue.
Did you turn the underside of the binding under, or is there a raw edge of the binding on the back of the quilt? All the photos appear to be the top of the quilt.
The underside is neatly finished and not raw. It is stitched neatly on the underside. The raw edge is completely enclosed just as it would be if stitched down by hand.
Woot woot! Another pretty quilt ticked off as done!